Directives
Textwire directives provide control over your templates through commands that begin with @. These directives enable you to conditionally display content, iterate over data, create reusable layouts, and build modular components. Each directive serves a specific purpose in the template rendering process, allowing you to write dynamic and maintainable templates without mixing complex logic into your presentation layer.
- @if
@if(x == 1) - @use
@use("layouts/main") - @insert
@insert("title", "Home") - @reserve
@reserve("title") - @for
@for(i = 0; i < 2; i++) - @each
@each(name in names) - @component
@component("components/post-card") - @slot
@slot('footer') - @slotif
@slotif(true, 'ooter') - @dump
@dump(users, page)
@if
You can use if directives to conditionally render content. You can construct @if directive using the @if, @elseif, @else and @end directives. Example:
@if(name == "Anna")
    <p>Her name is Anna</p>
@end
You can also use else and elseif directives:
@if(x == 1)
    <p>x is 1</p>
@elseif(x == 2)
    <p>x is 2</p>
@else
    <p>x is not 1 and 2</p>
@end
If you pass nil or an empty string to the @if directive, it will be treated as false.
{{ name = nil }}

@if(name)
    <p>This will not be printed</p>
@end
@for
You can use regular for loops to iterate over an array or a range of numbers.
This is a basic for loop that you can use. It has a declaration, condition and post directive. for <declaration>; <condition>; <post>. They are all optional. Example:
{{ names = ["Ann", "Serhii"] }}

@for(i = 0; i < names.len(); i++)
    <p>{{ names[i] }}</p>
@else
    <p>No names</p>
@end
Read more about loops in the Loops guide.
Example
{{ names = ["Ann", "Serhii", "Vladimir"] }}

<ul>
    @for(i = 0; i < names.len(); i++)
        @continueif(names[i] == "Serhii")
        <li>{{ names[i] }}</li>
    @end
</ul>
@each
Each directive is a special form of for loop that you can use to iterate over an array. It has a declaration and an array. @each(<declaration> in <array>). Example:
{{ names = ["Ann", "Serhii"] }}

@each(name in names)
    <p>{{ name }}</p>
@end
Read more about loops in the Loops guide.
@use
@use directives allow you to specify a layout file that will be used to render the current template. This feature is useful for creating reusable layouts that can be applied to multiple templates.
Example:
@use("layouts/main")The @use directive accepts a string literal as its argument. This string literal should specify the path to the layout file relative to the TemplateDir parameter defined in the configuration. For example, if TemplateDir is set to "src/templates" and you have layouts directory in there, you can use the layout directive like @use("layouts/main"), and it will look for the layout file at "src/templates/layouts/main.tw".
Understanding the @use Directive
When you use the @use directive, only the content inside @insert directives will be rendered; the rest of the file's content will be ignored. This is because the @use takes the layout file as a base instead of rendering the current file directly. During this process, all placeholders reserved in the layout file are populated with the content specified within your inserts.
Important Notes
- Name is a constant. The first argument (name) is the constant, it cannot be dynamic, only literal strings are allowed.
- Use path alias. If your layouts are located in the
layoutsdirectory, you can use the~alias to reference them. Read about Path Aliases. - Only one
@useallowed. Only one@usedirective is allowed per template file. Defining multiple layouts will cause an error. - Recommended at the beginning. You can place
@useanywhere in the template, but it’s recommended to put it on the first line for clarity. - Not allowed in layouts. Defining
@useinside a layout file will always result in an error. This is intentional to keep layouts simple.
@insert
The @insert directive lets you insert (inject) content into placeholders defined by the @reserve directive in your layout file. This feature enables flexible template structuring and reusability.
Below is an example demonstrating two scenarios for the @insert directive with a content body and without:
@use("layouts/main")

{{-- Without a content body --}}
@insert("title", "Home page")

{{-- With a content body --}}
@insert("content")
    <h1>Hello, World!</h1>
    <p>This is a home page.</p>
@end
Important Notes
- Name is a constant. The first argument (name) is the constant, it cannot be dynamic, only literal strings are allowed.
- Takes two arguments.
@insertis optional and accepts two arguments: the name of the reserved placeholder and the optional content to be injected into that placeholder. - Evaluated in template context. All inserts are evaluated within the template file first, and next, they are matched to placeholders defined by the
@reservedirectives in the layout file. It means they have the context of the file where they are defined. - Requires matching reserve. If you define an insert without having a matching reserve, it will result in error. Such inserts are considered unused.
- Names must be unique. You cannot define multiple inserts with the same name in a single file. It will result in error.
- Requires
@usefirst. If you define@insertwithout defining@usedirective first, you'll get an error.
@reserve
When defining a layout file for your template, you can reserve placeholders for dynamic content. These placeholders can be used for elements such as the title, content, sidebar, footer, and more. Below is an example of how to use the @reserve directive:
<!DOCTYPE html>
<html lang="en">
<head>
    <meta charset="UTF-8">
    <meta name="viewport" content="width=device-width, initial-scale=1.0">
    <title>@reserve("title")</title>
</head>
<body>
    @reserve("content")
</body>
</html>
Fallback Argument
As a second argument, @reserve can also take a fallback value that will be used if no corresponding @insert is defined in the template. Example:
<!DOCTYPE html>
<html lang="en">
<head>
    <meta charset="UTF-8">
    <meta name="viewport" content="width=device-width, initial-scale=1.0">
    <title>@reserve("title", "Welcome to Textwire")</title>
</head>
<body>
    @reserve("content", "There is nothing here")
</body>
</html>
Important Notes
- Name is a constant. The first argument (name) is the constant, it cannot be dynamic, only literal strings are allowed.
- Only in layout files.
@reservecan only be used inside layout file. Using it in templates and components will result in error. @insertis optional.@reservedoes not force you to have a matching@insert. If you don't insert any value into@reseve, it will fallback to an empty string.- One
@reserveper file. You cannot define multiple@reservedirectives with the same name in a single layout file. It will result in an error starting from version v3.1.0. - Can be passed to components. If you want to pass the value of
@reservefrom layout into a component, you can pass it using slots. Example:textwire@component('header') @slot('title')@reserve('title')@end @end
@component
The @component directive allows you to include reusable code within your templates. Components help organize and structure templates by encapsulating reusable parts of your UI.
To use components in Textwire, create a components directory inside your templates and store your component files there. You can then include a component in your template using the @component directive. Example:
Example of a Component File
Define a component file in templates/components directory.
<div class="post">
    <h1>{{ post.title }}</h1>
    <p>{{ post.content }}</p>
</div>
Example of Using a Component
To include your component use @component directive with first argument being the path to your component relative to templates directory.
<div class="posts">
    @each(post in posts)
        @component("components/post-card", { post })
    @end
</div>
The first argument of the @component directive is a path to the component file relative to the TemplateDir parameter that you set in the config.
The second optional argument is an object that you want to pass to the component. Here is another example of using a component with a second argument:
<ul>
    @each(book in books)
        @component("parts/book", { completed: book.completed })
    @end
</ul>
Imporant Notes
- Name is a constant. The first argument (name) is the constant, it cannot be dynamic, only literal strings are allowed.
- Layout for components. You can include layout file into components using
@usedirective, but it can make your templates more complex and harder to maintain. We recommend to avoid using layouts in components and keep them simple. - No empty body. Component cannot have empty body and be like
@component("post", { post })@end. In this situations it's important to remove@endtoken to avoid parsing errors. - Use slots to pass data. You can use slot and slotif in components to pass content to the component file.
- Use path alias. If your components are located in the
componentsdirectory, you can use the~alias to reference them. Read about Path Aliases.
@slot
Component slots are a common feature in many template languages and frameworks. Textwire supports both named and default slots, allowing you to pass content into components flexibly.
There are 2 types of slots in Textwire: default slots and named slots.
- Default Local Slots: Use the
@slotdirective to define and pass content to a default slot. - Named Local Slots: Use the
@slot("name")directive to define and pass content to a named slot.
Here’s an example of how to use slots in a component. Consider this component:
<div class="book">
    @slot

    <h1>{{ book.title }}</h1>
    <p>{{ book.description }}</p>

    @slot('footer')
</div>
We can now use book.tw component in our Textwire files like this:
@each(book in books)
    @component("~book", { book })
        {{-- default slot --}}
        @slot
            <img src="{{ book.image }}" alt="{{ book.title }}">
        @end

        {{-- named slot --}}
        @slot('footer')
            <small>published by {{ book.author }}</small>
            <button>Read more</button>
        @end
    @end
@endIn this example, both default and named slots are used within a single component. You can include as many slots as needed in a single component, provided that all named slots have unique names.
Important Notes
- Duplicate names not allowed. Defining multiple default slots or named slots with the same name in a single component will result in an error.
- Empty string is default slot. If you provide an empty string as a slot name, it will act as default slot.
@slotand@slot('')act the same. - Slots have current context. Slots have the context of the same file where they are defined. It means you can dinamically modify the content of a slot before it get rendered in the component file.
- Slots are optional. If you don't provide content for a slot, it will be rendered as an empty string.
- Name is a constant. The first argument (name) is the constant, it cannot be dynamic, only literal strings are allowed.
@slotif
@sloif directive combines @slot and @if directives making it possible to conditionally render a slot. It takes a condition as the first argument and a slot name as the second argument. If the condition is truthy, the content of the slot will be rendered; otherwise, it will be ignored.
There are 2 types of conditional slots in Textwire: default slots and named slots.
- Default Slots: Use the
@slotif(true)directive to define and pass content to a default slot. - Named Slots: Use the
@slotif(true, "name")directive to define and pass content to a named slot.
Here’s an example of how to use conditional slots in a component. Example:
@each(book in books)
    @component("~book", { book })
        {{-- default slotif --}}
        @slotif(hasImage)
            <img src="{{ book.image }}" alt="{{ book.title }}">
        @end

        {{-- named slotif --}}
        @slotif(hasFooter, 'footer')
            <small>published by {{ book.author }}</small>
            <button>Read more</button>
        @end
    @end
@endImportant Notes
- Same rules. All the rules from @slot apply to
@slotif. - Only inside components Conditional slots can only be local (used inside component directive).
@dump
The @dump directive is primarily used for debugging purposes. This directive outputs the value of variables, objects, arrays, strings and other data types to the screen.
Here’s an example of how to use the @dump directive:
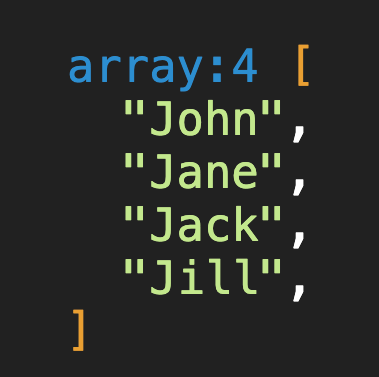
{{ names = ["John", "Jane", "Jack", "Jill"] }}

@dump(names)
The output would look like something like this:
Works with Different Types
Similarly, you can print objects and other types of data:
<h1>This is my title</h1>

@dump({
    name: "John",
    age: 25,
    admin: false,
    hobbies: ["reading", "coding"],
})

<p>Some content</p>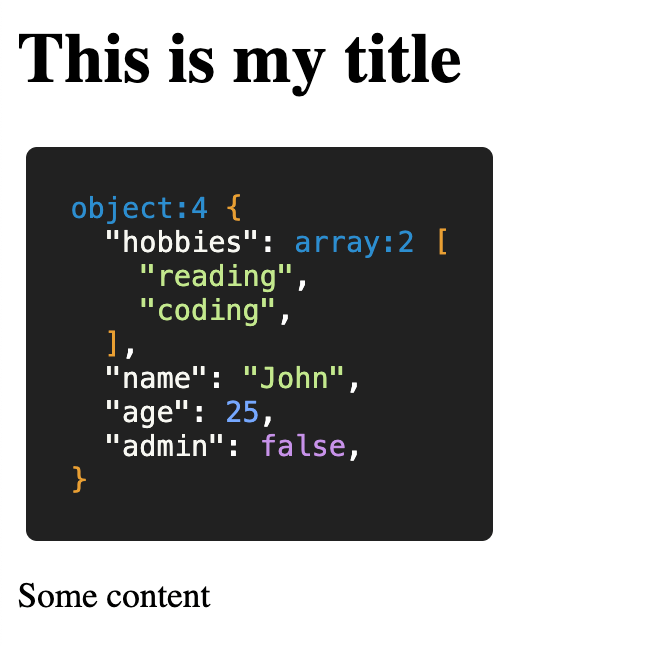
Dump Multiple Objects
@dump directive can accept an endless amount arguments at once:
{{ meta = [1, 2.23, true, false, nil] }}
{{ user = { name: "John", age: 25 } }}

@dump(meta, user)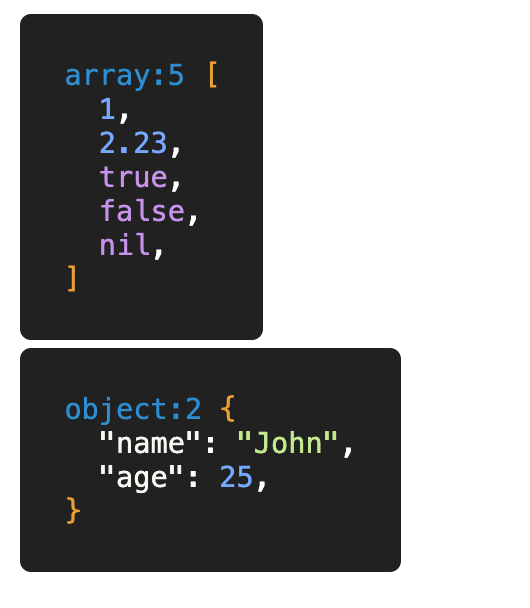
It's an easy and convenient way to debug your templates and see what's going on inside of them.